How to take great photos for your listing
Get your place ready, use your phone as a camera, and add details and captions.
By Airbnb on Jun 20, 2024
Updated Nov 8, 2024
Great listing photos attract attention, set clear expectations, and give guests confidence to book. Try these tips for taking high-quality photos of your place.
Preparing to take photos
Detailed photos help guests decide whether your listing meets their needs. Tidy up your place and plan your session before you start photographing.
- Clean and declutter. Show guests exactly what they can expect. “It’s surprising how many people forget to clear their spaces of random objects before taking photos,” says Jeff, a photographer and Superhost in Joshua Tree, California.
- Choose features to highlight. What will guests love about your place? What do they need to know to avoid surprises? Use photos to showcase unique details, popular amenities, and accessibility features.
- Make a list. Plan to capture each room and area guests can use from various perspectives. For example, backyard photos could focus on the entire yard, the pool, the patio with sun loungers, and the latch on the gate.
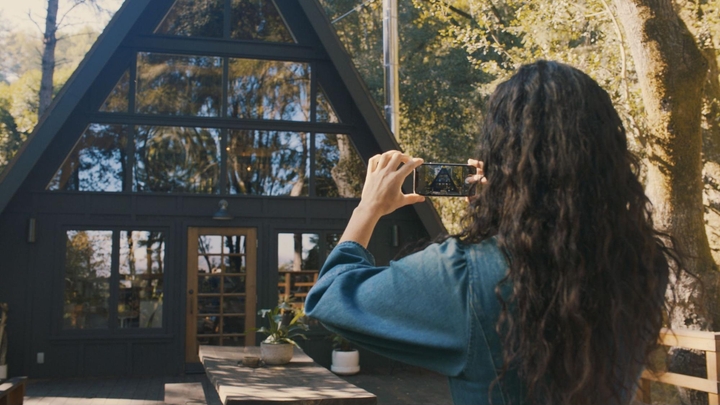
- Find the best light. Soft, natural light gives photos a warm and welcoming tone. Plan to take indoor photos when your rooms get the most daylight. Take outdoor photos during the “golden hours,” the 60 minutes after sunrise and before sunset.
- Consider hiring a pro. Professional photography is available through Airbnb in select cities worldwide.
Taking high-quality photos
Most cameras can capture compelling listing photos, including the one on your smartphone. Here’s how to make sure your photos look their best on Airbnb.
- Turn off the flash. Open window blinds, shades, and curtains. If you’ve maxed out the natural light and your photos are still too dark, turn on the lights.
- Take horizontal photos. Horizontals work better than verticals because images are cropped into squares in search results, and your listing page displays photos in landscape mode.
- Center the subject in the frame. Turn on grids to help line things up.
- Shoot straight ahead. Take photos from a neutral position, without tilting the lens up or down, to give guests a realistic view of your place.
- Select photos. Choose a mix of wide, mid-range, and close-up images to share the big picture and little details.
- Edit photos. Adjust each photo’s brightness, contrast, and highlights, using tools like the auto editing button on your phone. Manually crop, straighten, or rotate images (so they’re right side up) as needed.
- Upload photos in high resolution. Use photos that are at least 1200 pixels by 800 pixels. Bigger file sizes are better—up to about 10 megabytes.

Turn off the flash and use natural light as your primary light source.
Adding a photo tour and captions
After you’ve uploaded your photos, use the tools in your Listings tab to showcase your space.
- Create a photo tour. The photo tour automatically sorts your images by room to help guests understand the layout of your home. You can move, remove, and add photos.
- Add details to each room. You could note that the bedroom has a king-size bed or the living room has a 55-inch TV. You can also include information about the room’s accessibility features.
- Write photo captions. Explain what the photo doesn’t show that could be important to guests. For example, “The drop-leaf dining table seats up to 10 people when fully extended.”
- Clarify where each room fits into the floor plan. Provide context like, “Bedroom 1 is on the second floor and has an en-suite bathroom.”
- Emphasize features and amenities. Call attention to popular items. For example, “The shared kitchen has an espresso machine, an electric kettle, and a fridge with shelf space just for guests.” When you’re done editing, tap the View button to preview your listing.
When you’re done editing, tap the View button to preview your listing.
Information contained in this article may have changed since publication.
Airbnb
Jun 20, 2024
Was this helpful?